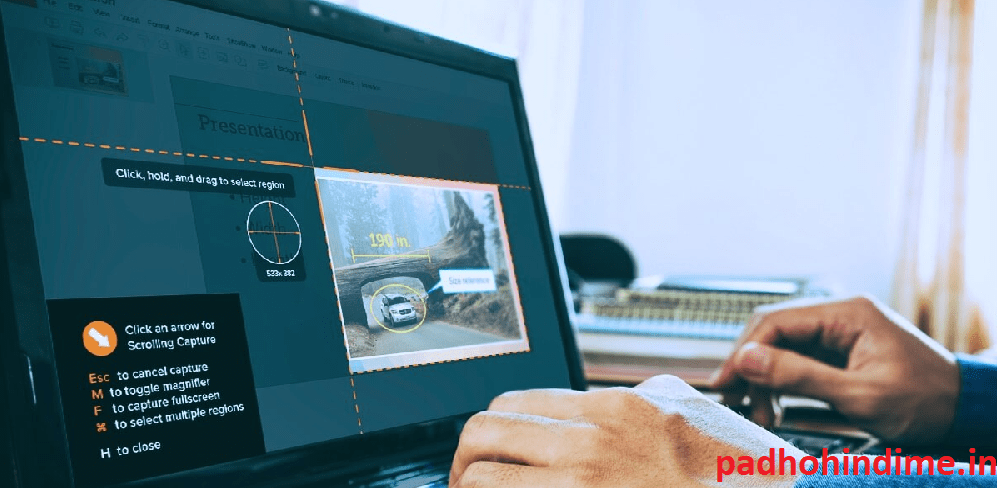
Let’s Know How To Take Screenshot of Laptop Screen
We all are aware of how to screenshot our mobile screens have you ever wondered how to click a screenshot of our laptop or computer screen. Does the thought of it make you wonder how can that be possible. What we utilize from the resources available differs from one person to another and what is important is that what is the output we derive from doing it.
Internet Explorer- Tips And Tricks
It’s become a prominent tradition in the world we live in to make presentations for work and study purpose and this involves various amounts of sourcing, researching and resources. The Screenshot fashion has prevailed since the time of the introduction of Smart phones like Androids and iPhones, the sole purpose of a screenshot is for easy accessibility of information. It is always better to take a picture of your ticket in your mail rather than getting on to the bus with a printed ticket or open your mail at that point of time. The mobile phones adapted this culture and passed it over to PC’s and its being an advantage for many people in the IT industry and for the students as well.
This post focuses on how not many of us are unaware of the laptop screen which we use every day having this feature inbuilt in it. We are used to the ‘QWERTY’ keyboard and the coffee placed next to the screen, after you read this article you will learn the knacks of your keyboard yourself.
Please note that I have took a screenshot of the Desktop screen itself for example you can use it according to your need.
Please follow the detailed explanation of the process in steps to learn how to click a screenshot of the word document or a picture or even an excel sheet by using these steps.
- The very first thing you require is to make sure you have a laptop and it has the recent update of the software you are using. If it’s Windows then it should have the Windows10 Update.
- So our first step is to open your laptop and Switch it on which will take you to your Desktop page and it will show your Desktop Background image with all your icon folders.
- Then go to the start menu or simply press the windows icon on your keyboard or if you use cortana it should also help you and the start menu will open which will look like this
- The next step is to type ‘snipping tools’ which is an inbuilt app in your software in the start menu. Look at the image below for better understanding which is denoted with a Red arrow mark. Then all these options will appear select the option with the icon showing a scissor denoted with a Red Dot.
- Then select the option and you will find a small catalogue box appearing which looks like the image below and it will appear in the in the desktop itself.
- Use the minimize button go to the document or the webpage you want to take a screenshot of and the open the tab from the bottom of the screen.
- The next step is to go to the option ‘New’ and select it which is denoted using a Yellow arrow mark and then select the form of your cursor among the four different options.
- After this step you will see that the Screen you wish to Screenshot becomes pale white and there will be a cursor in the shape of a ‘+’ ready to crop out the screen that you wish to duplicate in the form of a screenshot. I have encircled the circle using a Red mark for reference.
- Now you are ready to crop out the screen, select on one corner of your screen by long pressing the left mouse button and dragging the cursor all the way along the screen with the touch keypad. The cropped image will appear like the picture below with a red margin towards the corners and the edges of the screen which is denoted using Red marks for reference.
- The same picture will appear on the Snipping Tool page which will help you save and edit the picture of your screenshot. See the image below.
- The next step you have to follow is to go to the <File> option I have denoted this using a Green arrow mark in the image below
- Then you will have to save it so select the <Save As> option which is denoted using a Blue arrow mark in the image below and select it.
- You are almost there, after that you will see the save box open up and ask you for File Destination enter it as <Desktop> and then Name the screen according to your need in the tab denoted using a Red arrow in the image below and select Save.
- The last step is go to the desktop and you shall find the image. I have marked the picture using a violet box for reference.
To gain more Information and Ideas which will help you learn and derive knowledge in Technology and Social Media, please subscribe to our Blog site.
I hope you liked our post How To Take Screenshot of Laptop Screen!!


